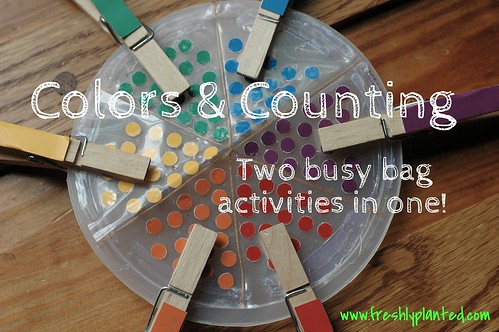
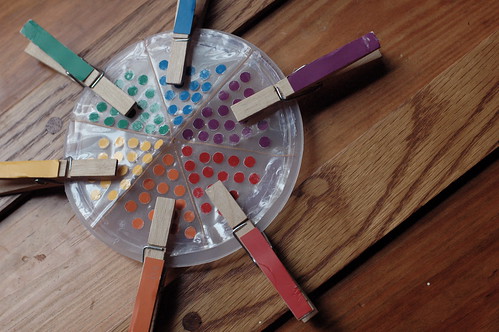
For you have the choice of matching the color, or the number! And we are all about choices these days around here. Here's how we put it together, and some helpful hints for making your own. (Including an Easier version at the bottom of the post)
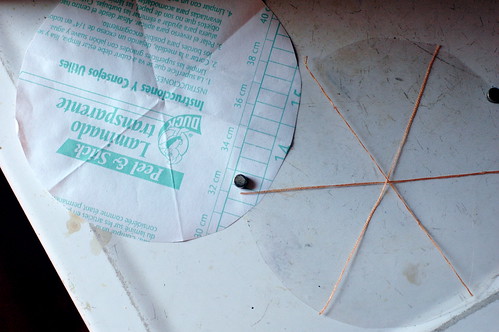
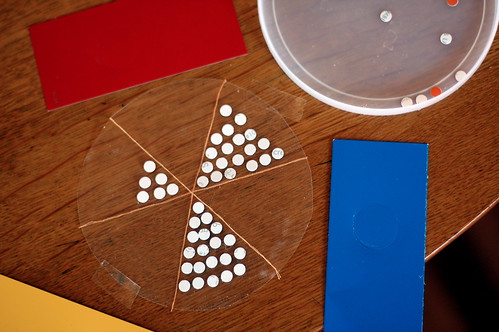
Using a plastic lid as a template, we cut out a circle of contact paper. Then we folded the circle into six equal segments before- after we removed the paper liner- we laid thread along all of the creases to mark our lines.
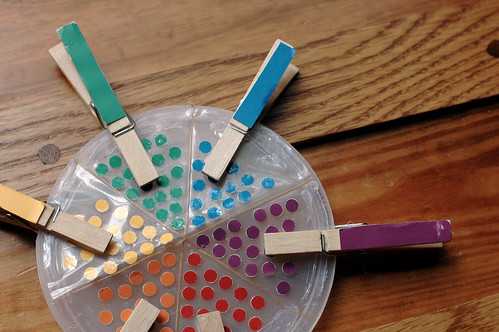
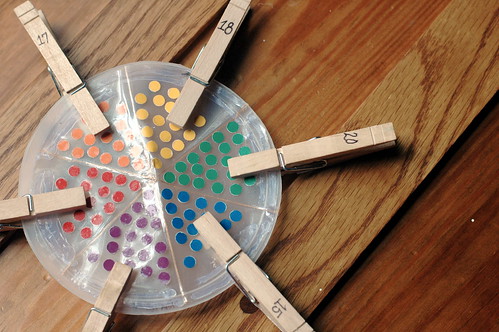
Then we filled each area with color dots created with a hole-puncher and paint samples. We carefully counted as we put them in each area, starting at 15 for the first area, 16 in another area across from it, and so on until we had filled our spaces. (You could do smaller numbers too, these are just the ones we're working on right now.) We put our contact paper onto our lid- with the rim cut off- and gave it a little glue gun love to keep it sticking on. It still isn't still sticking well to the lid, so we might try a cereal cardboard or card-stock next time. Finally we fashioned our clothespins, gluing strips of paint samples to the front and then writing the number for a different color on the back.
Then it's done! Between being played with by Isia, or chewed on by Billy (ahem), it really has gotten a lot of love. This could be a bit of a slippery slope friends. As you can see from my DIY Creative Play board I'm a bit entranced with make-your-own amusement. And now that she's becoming as amused as I? This could be a slippery slope indeed!
{Easier Alternative} After creating a circle in cereal cardboard, or any other stiff material, mark it into six different segments. Using one colored marker per segment, dot each segment with a different number of dots. Color the front of the clothespins in each segment color, writing the number to a different color on the back. Cover with contact paper, optional, for greater durability. Get ready for some serious playing!
{Easier Alternative} After creating a circle in cereal cardboard, or any other stiff material, mark it into six different segments. Using one colored marker per segment, dot each segment with a different number of dots. Color the front of the clothespins in each segment color, writing the number to a different color on the back. Cover with contact paper, optional, for greater durability. Get ready for some serious playing!
___________________________
Looking for more creative ideas for the whole family?
Visit our Facebook Page & Pinterest Boards
for more fun & easy creative ideas!
Looking for more creative ideas for the whole family?
Visit our Facebook Page & Pinterest Boards
for more fun & easy creative ideas!

No comments:
Post a Comment
Note: Only a member of this blog may post a comment.