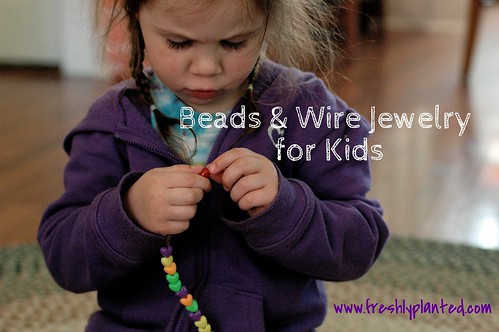
Isia loves her accessories these days! There's the princess crown she wears on errands, the lip-glosses stored away in her special suitcase (away from little brother's inquisitive hands), and the Jewelry. Rings, bracelets, necklaces... she's collecting it all and wearing it often. Here's the newest piece in her collection, an easy to make wire & bead bracelet. Perfect for kids to make & wear themselves, or gift away to someone special.
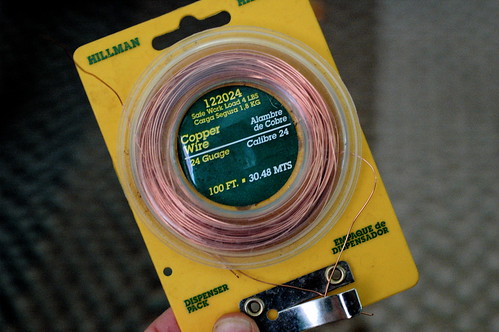
The first thing we needed was wire. I picked up this 24 gauge wire at the hardware store. For each bracelet I measured her wrist, then roughly tripled that amount. It's better to have it too long than too short- you'll cut the extra away at the end.
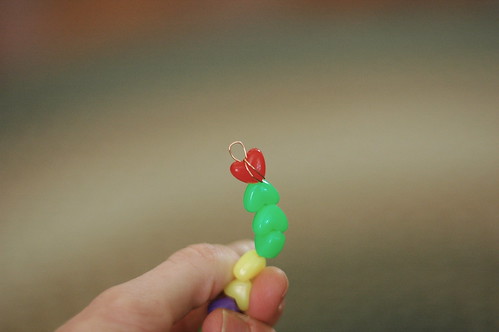
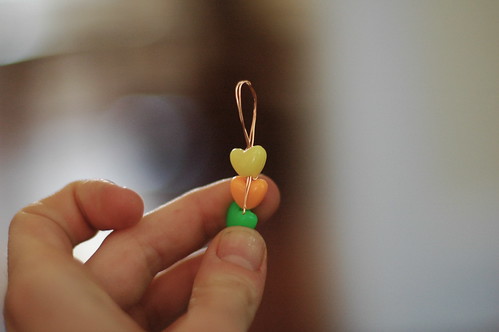
Next we bent the wire in half to make a loop. I threaded the first bead onto the double wire ends all the way up to top- leaving the loop- then bent the wires underneath the bead. I brought the wires up alongside the outside of the bead to the top, threaded the bead once more, then pulled the wire through. In the end we had a securely fastened bead with a loop on one end & long wires hanging out the other end.
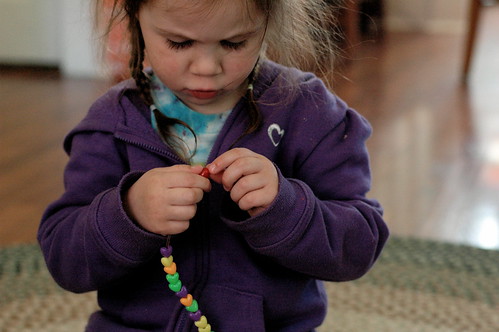
Holding the two wires together, Isia threaded more beads onto her bracelet. She thoughtfully threaded each bead, deciding to facing them in the same direction. I would check it periodically against her wrist, and ask her to estimate (a great preschool math skill) how many more beads she thought she needed.
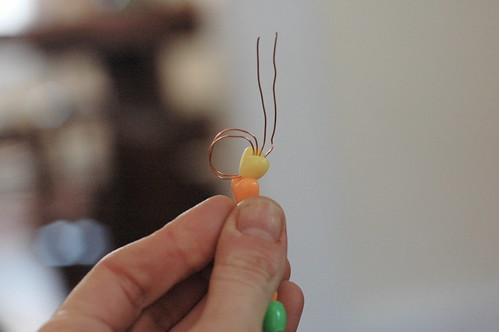
When we got to the end, we looped the wire around the last bead- just as we had for the first one- leaving the tails hanging out. I then looped the tails and, using Isia's wrist as a guide, "hooked" them to create a clasp that fit around her wrist. I threaded the loose ends back through the bead, wrapped them around at the bottom, and trimmed off the excess with craft scissors.
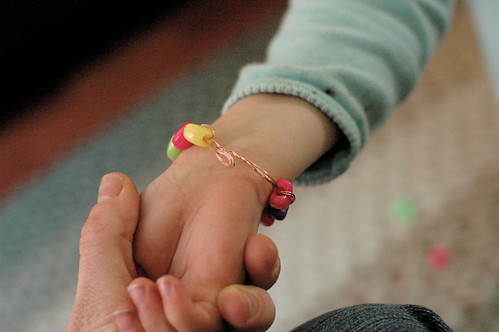
Here's Isia's finished bracelet! Isn't it a great addition to her collection? (smile)
To make for an adult: Same technique, but use your wrist or a favorite bracelet as a guide. I would leave a long clasp so your gift recipient can easily adjust it for their comfort level.
Another beading idea for kids: These paper label beads are easy enough for a toddler to decorate! Older kids might enjoy stamping on them to create word jewelry, or mod-podging magazine images on them. The possibilities are endless!
___________________________
Looking for more creative ideas for the whole family?
Visit our Facebook Page & Pinterest Boards
for more fun & easy creative ideas!
Looking for more creative ideas for the whole family?
Visit our Facebook Page & Pinterest Boards
for more fun & easy creative ideas!

No comments:
Post a Comment
Note: Only a member of this blog may post a comment.