Creative Mama: Layered Invitations

By freshlyplanted - 10:55 PM

Since we have two summer babies, we wanted to do a joint family birthday party for them this year. In an effort to keep it simple, I wasn't planning on making birthday invitations this year (famous last words). But I couldn't find anything that inspired me to write the same information over & over again. They need some type, I thought. And polka-dots. Maybe a picture too? Then I realized I was Inspired, which always means busy things in our house.

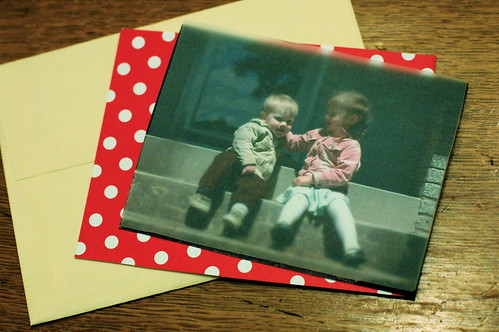
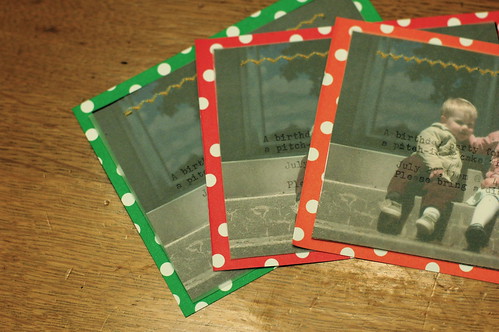
So these are the finished invitations. They're great for a kid's party, but they'd also be fun for showers, save-the-date's or even baby announcements. Just change the type and picture accordingly. Once you
have the pieces they come together quickly. And if you'd prefer to not type or sew, I'll share some fun alternatives at the end. Let's get started!
Layered Invitations
For each invitation you'll need a 4"x6" envelope& 4"x6" piece of card-stock. I made a 3.5" x 5.5" template then used that to trim my tracing paperand photographs (originally 4"x6").

Layered Invitations
Layered Invitations
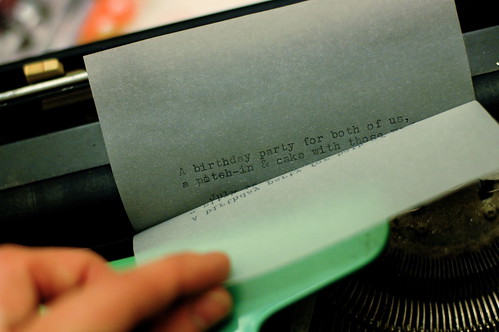
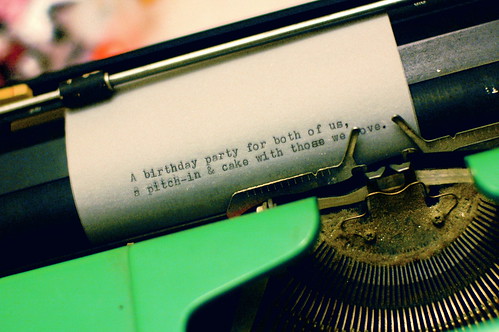
Type your information onto the tracing paper next. I began my type about halfway down to allow for top-stitching and a little bit of the photo to peek over the top. An easy way to keep your spacing the same is to layer a piece of paper with the correct typing under a new piece of tracing paper. It's easy to see the type underneath, and it makes typing on the front easier & darker too. Our front ditty reads "A birthday party for both of us, a pitch-in & cake with those we love." Then I typed the date, our address and starting time below it. 

Layered Invitations
Layered Invitations
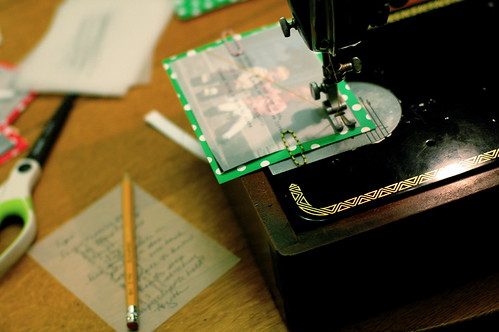
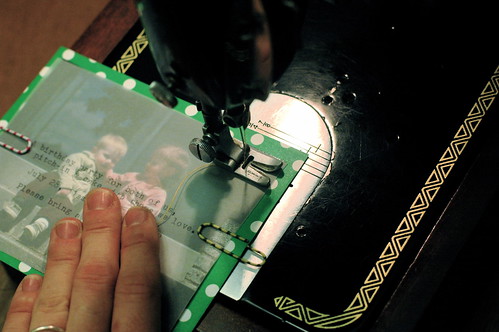
Before sewing them on my machine, I safety-clipped the layers together. This really helped to secure them from moving around on me. I used an embroidery stitch but any stitch would do, including hand-stitching. 

Layered Invitations
Layered Invitations
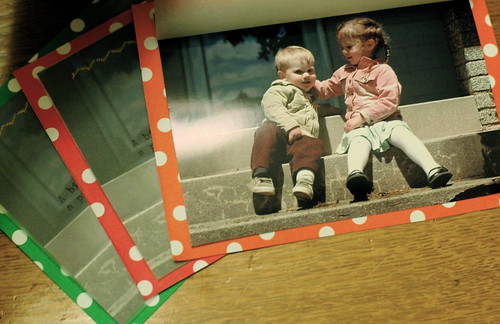
And then you have finished invitations! Aren't they sweet? I'm a bit biased, but I think the picture layer is the best part of all (wink). Happy creating!

Alternatives to sewing, you can...
Hole-punch them twice at the top, thread a ribbon through & tie a bow.
Hot-glue them together, adding rick-rack onto the top to hide the seam.

Alternatives to typing, you can...
Write party information on the tracing paper with a Sharpie.
Add rub-on letters to the front {Party!}, then glue printed info onto the back.


Disclaimer: Some of these are Amazon affiliate links. If you use them to buy your supplies- at no extra cost to you- then we earn a small commission for sharing what we love. Thanks for your support!

___________________________

Looking for more creative ideas for the whole family?
Visit our Facebook Page & Pinterest Boards

for more fun & easy creative ideas! 


  • Share:

You Might Also Like

0 comments

Note: Only a member of this blog may post a comment.