Have the leaves started to fall in your part of the world? Ours really started to turn this past weekend. Today the kids and I sat on our deck and watched them drop gracefully into the cove, a few at a time. There's something so magical about watching them, even quieting Billy for a full five minutes on my lap- a feat for my busy, forty-pound toddler! (wink) As the days start to get chillier, I start to stock-pile my activities that I can pull out quickly indoors. This is a great one! Perfect for the whole family- with toddlers & preschoolers only needing a bit of assistance. I have some great extension activities for the older kids at the end too.
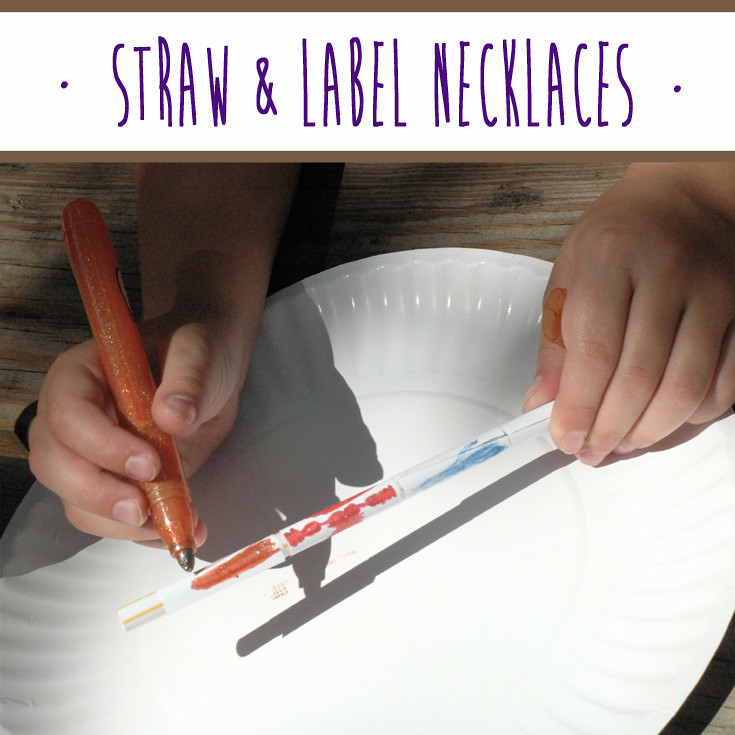
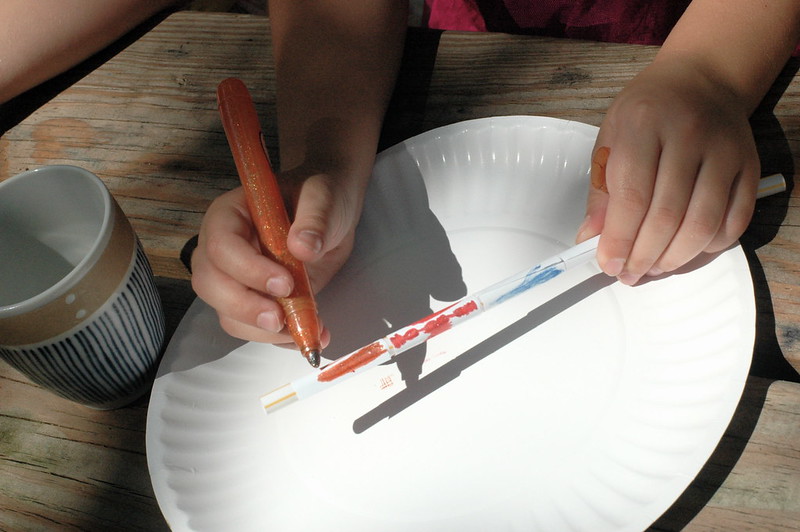
The first step is to cover your straws with your labels. I wrapped our labels around long-wise so that they covered most of the straw. Then you can start decorating! We like to use regular & glitter markers on ours. You can also use crayons, watercolors, colored pencil... you get the idea.
Be prepared to have busy hands as they decorate! For this set-up I prepared one label-covered straw per kid on their own paper plate. The plate helped give each kid a defined "space" to work- always helpful in a group- and was also a convenient place to store their beads while they were stringing their necklaces. To finish the beads you can cover them with labeling tape (my personal favorite, no dry time!), or you can seal them with mod-podge. Once dry, you can cut them into beads or have the kids cut their own. I try to mix it up, cutting some small & some large for variety, and including extra pieces of straw too.
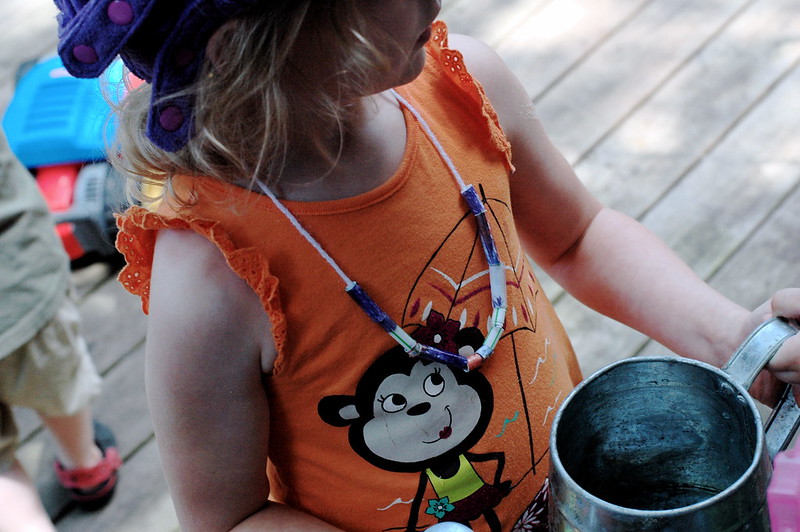
The last step is stringing them. We went extra-fancy with our white yarn (smile). For younger kids I recommend longer lengths that fit over their head, and, of course, always make sure that younger kids are well-supervised while wearing them. Especially if they're dare-devils like mine!
For older kids:
- Glue on text & images from magazines.
- Paint sparkly nail polish on top of the packing tape.
- Using paint or ink & layer fingerprints in light green, dark green & brown to make a camo design. (Helpful hint: Start with the light green, then the dark green, then the brown so they all show up!)

Looking for more creative ideas for the whole family?
Visit our Facebook Page & Pinterest Boards
Visit our Facebook Page & Pinterest Boards
for more fun projects & inspiration!


0 comments
Note: Only a member of this blog may post a comment.