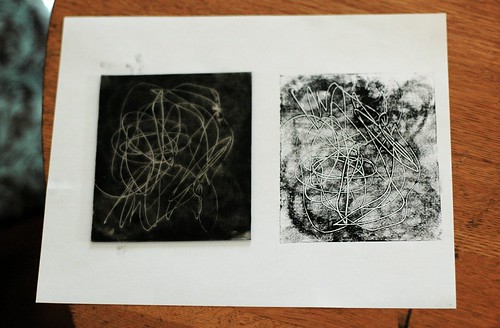
I've always loved teaching print-making to kids. There's something so special about transferring an image to a piece of paper or cloth. So many are intimidated by print-making, thinking of methods that involve wood-carving tools or chemicals. These mono-prints don't require either and are a perfect place for kids- and their parents!- to start.
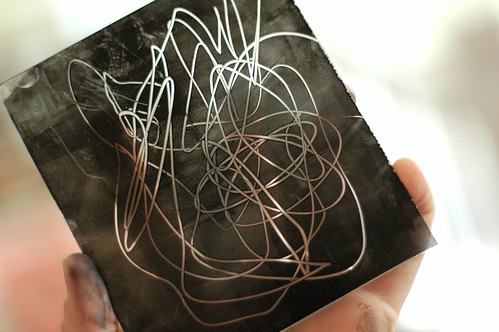
The first thing you'll need is a "plate"- this is the surface you will be drawing your image on. Isia used an acrylic plastic piece that was leftover from one of my sculpture projects. It was bought & cut to size at the hardware store. You can also use a piece of cardboard (mod-podged first would be ideal for rolling paint onto) or even a baking sheet as long as your paper is smaller than the pan.
Roll ink onto your plate using a brayer or a small paint roller. We used printing ink for ours, but thinned acrylic (especially with a dab of paint retarder) or tempera would work too. A thin, even layer is ideal. You could also paint a fine layer of paint onto your plate- just know that that the brush texture might show up.
Now draw your image! I let the kids use small wooden sticks for ours, but toothpicks, cotton balls & q-tips also deliver great results. Experimenting is essential to creativity. (wink)


Now place your paper on top of your plate and lightly rub it on top. Isia rubbed hers with the back of a wooden spoon, but fingers and palms work fine too. When your image has transferred, carefully peel your paper away and set aside to dry. You just made a print! If you work quickly you might be able to get one more print, but not always. Besides, rolling more ink and drawing another design is part of the fun!
If you enjoy print-making with your kids, you might also enjoy:


No comments:
Post a Comment
Note: Only a member of this blog may post a comment.