As summer continues going strong, it’s time to give some of
our summer shirts a second life. Shirts don’t have an easy time around here-
they get rolled in the dirt, mud, drenched in bubble solution, and dribbled
with barbeque sauce. It’s a fun life, but it doesn’t always leave them looking
their best by this time of year! So I’ve found a quick way to give them a
second chance at all the fun- Dying them. While we often dye batches of
clothes one solid color, you can get great designs with just a couple
rubber-bands.

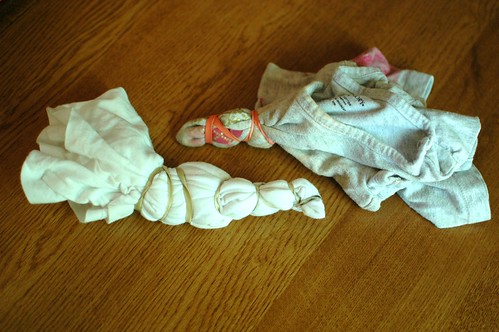
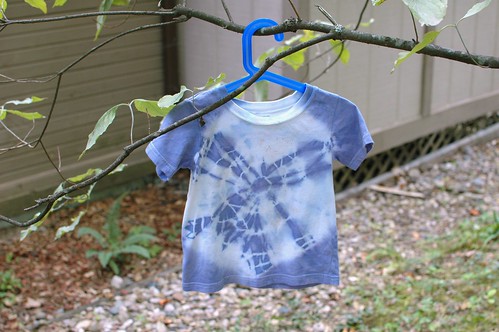
For these t-shirts, we just made simple circles. Here's how you do it: Find the middle of the shirt (or off-center, if that's how you roll), and pick the shirt up off the table. Smooth the t-shirt down into a coil then, starting at the top, wrap your large rubber-band around it at various intervals. You can also use multiple rubber-bands for an even cleaner look, but large was all we had (smile). Prepare your dye bath in the washer (I'm a loyal Rit dye user, this one is Rit in Royal Blue) according to the package directions and submerge your garments. Let them sit, checking them periodically to see if you like the color (or forget about them and leave them overnight, ahem). Once you're satisfied, let the cycle run and rinse.After having clothes bleed in the past, I always run an extra rinse cycle for good measure. I then unwrap my rubber-bands before throwing them in the dryer.

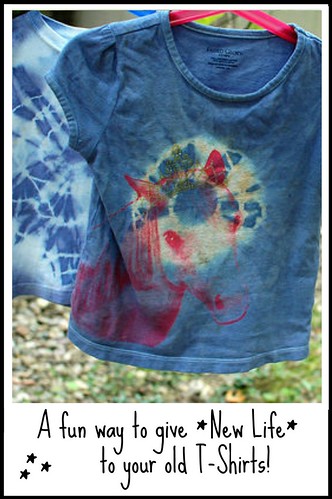
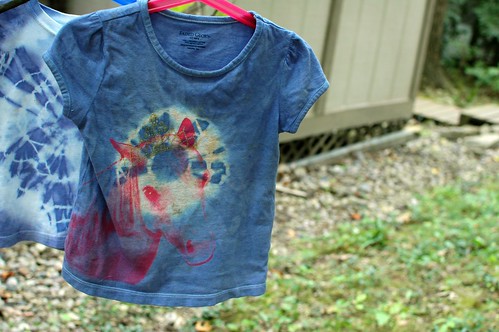
Here are the final results. Didn't they turn out great? And they've already been worn a couple times already- a sign of success around here!
*I also run a bleach cycle after a dying session- a great time to whiten some towels and clean the dye residue off my washer. Sometimes there's still some staining left after that, but I've always had it wear off in time without affecting future clothes. Dying in buckets, or on the stove-top, are always great options too.


No comments:
Post a Comment
Note: Only a member of this blog may post a comment.