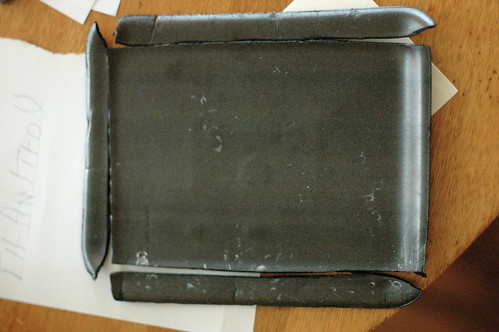
Start with cutting the edges of a styrofoam tray, like this one that held broccoli.
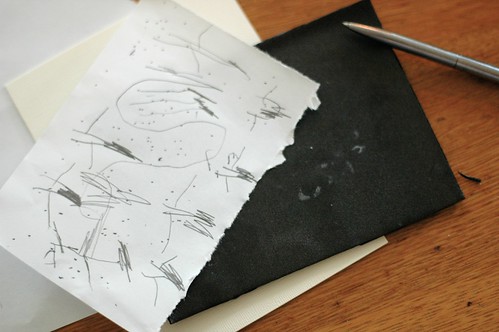
Trace a similar-sized drawing onto your styrofoam using a ball-point pen. Once it's traced, go over your lines one more time to make sure they're nice and deep. The deeper they are, the easier your picture will be to see!
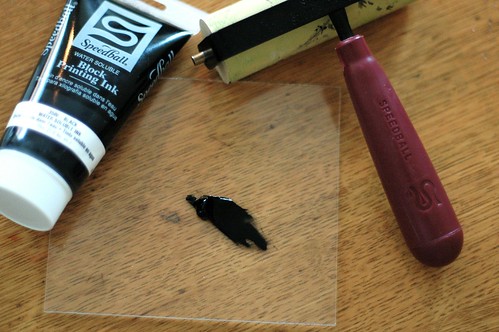
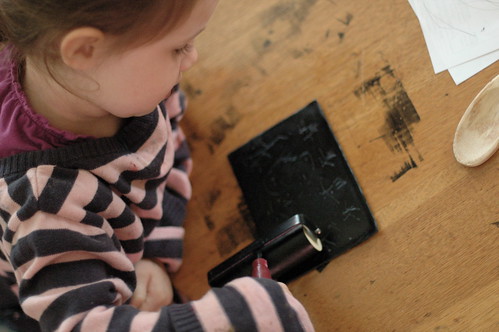
Roll a smidge of printing ink onto a printing plate. We use small piece of plexiglass (left over from one of my art projects), but any non-porous surface would do like a linoleum tile, a non-food tray, etc.
Then roll your ink onto your plate, making sure it's covered in a even, thin layer.
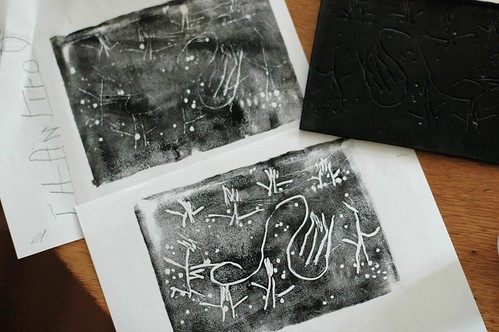
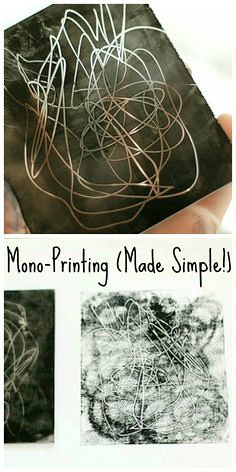
Then make your prints! First, place your printing plate (the fancy art term for your styrofoam tray) ink-side down on your paper. Carefully turn it over and rub the backside of your paper with the back of a wooden spoon (or something else hard). Turn it back over, lift up your plate and voila! Now get ready to print again, sometimes you can get a few prints before it needs a re-inking. These prints were made on computer paper, but we've also printed on folded cardstock (for quick cards), rice papers, and other art papers too. You can even print on newspaper! It won't be archival, but it'll be just as fun.
You might also enjoy:

No comments:
Post a Comment
Note: Only a member of this blog may post a comment.