It's so easy to look at a series of photographs and think that a project happened in the span of a day, or two, or maybe even a week. Not with these pictures. The time period between coloring the initial butterfly sheets (that I created & am including for you!), to making them into stickers, to including them in an artwork was one month... perhaps even two. This is a great project to do incrementally, to pull out on rainy days or according to attention span, and the results speak for themselves!

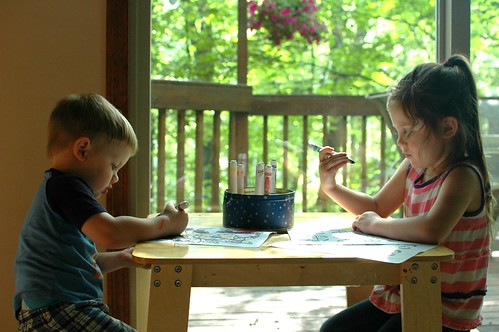
The first thing we did was color our butterfly pictures. I printed one Butterfly Printable for each of the kids, and one for myself too (smile). We used markers, which worked perfectly. Ours were washable markers, which bled a little bit in the next step, but you could also use colored pencils or Sharpies with older kids which shouldn't bleed at all.
After you've colored in your pictures, cover your paper with contact paper before painting this sticker glue mixture on the back:
Sticker Glue Recipe
1/8 cup white vinegar
1/4 cup white glue
1) Mix together in a small bowl.
2) Paint on the back of your sticker sheet using vertical strokes. Let dry.
3) Paint a second layer onto the back using horizontal strokes. Let dry.
4) Cut out your butterfly stickers and store until ready to use.
5) To use, dab the back onto a wet sponge before placing on picture. Smooth in place.
6) Let dry, then enjoy!
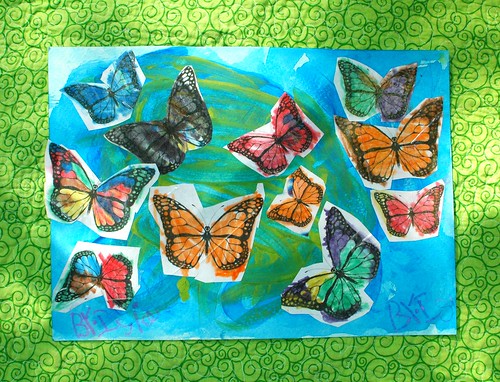
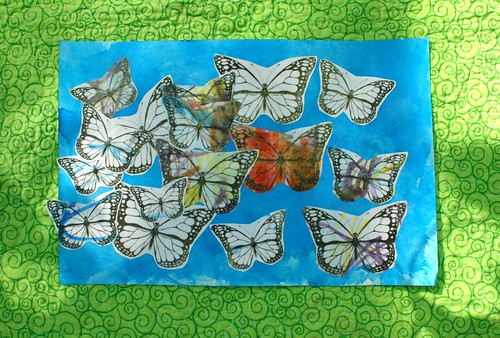
We put our butterfly stickers on these "cloud" paintings from this past summer. We had covered our watercolor paper (good information on choosing one in this post) with blue watercolor then lifted up paint with a paper towel, leaving our clouds behind. I love when we can creatively upcycle artworks!


0 comments
Note: Only a member of this blog may post a comment.