Rope Baskets: Tips & Tricks
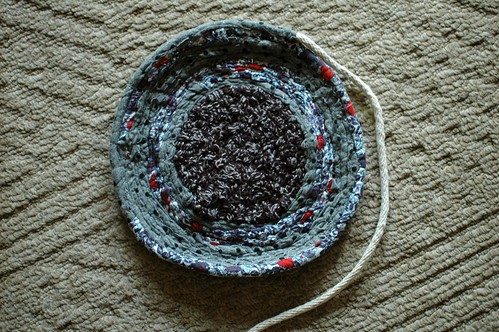
As I mentioned in my last post, this "quick & easy" rope basket project was initially neither quick or easy. I kept having thread pool up underneath, no matter what I did. I researched online about sewing rope baskets on old Singers, about getting the right tension, and about the proper way to do a zigzag stitch. Then, in the last article about a zigzag stitch, the kind author noted that if you're having a problem with tension you might to want to check the pressure bar "because we've all left it up time to time."
And that was it! The pressure bar. The cause of all my troubles.
In an effort to fit the clothesline under my sewing machine, I hadn't lowered it. May I chalk up a bit of that to recent late night teething sessions? Anyways, it turns out if your pressure foot is lowered properly, these really are a dream to sew up. I even learned a couple more things along the way, and I'll share them below.
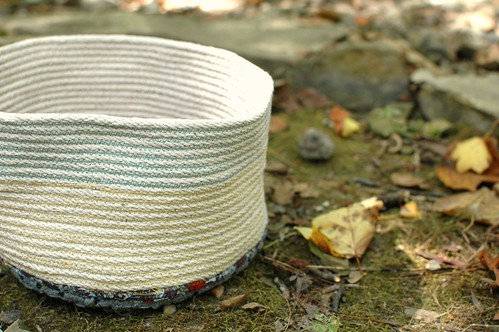
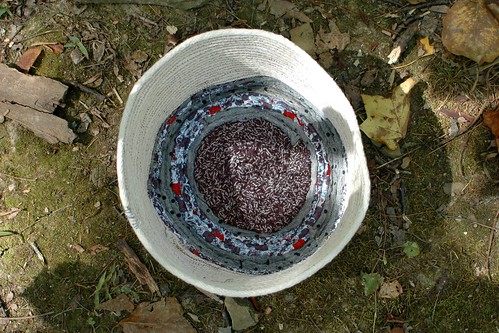
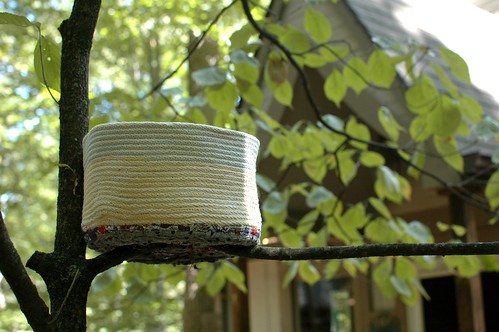
Rope Basket Tutorials:
Helpful Hints for Sewing Rope Baskets:
- In your efforts to fit your clothesline under your pressure foot, make sure you press down your pressure bar.
- Have lots of thread, and extra bobbins ready if you can. These soak up thread!
- Position yourself directly in line with the needle. I kept wanting to move over and sew from the right side, and my stitches weren't as clean when I did.
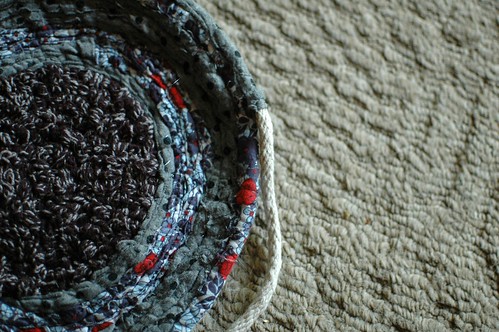
- "Walk" your basket in. I didn't seen anyone do this technique in the tutorials I watched, and it helped me have the most control over my stitches: Press your next part of basket to sew onto the machine plate, line up the next bit of clothesline alongside it, then sew them together. It's especially helpful when you're creating tension to raise the sides of your basket.



0 comments
Note: Only a member of this blog may post a comment.