Simple Still-Lifes with Black Paper & White Pencil
By freshlyplanted - 2:03 PM
Kids are great explorers, and there's no better way to really explore an object than to draw it. While using the same materials over & over increases familiarity with them, a change of materials can prompt kids to see what they're drawing in a different way. It's also helpful for adults, too (wink). These are simple drawing prompts, but there's so many layers to explore that I've used it with toddler students, middle-school students, adult students and most ages in-between.
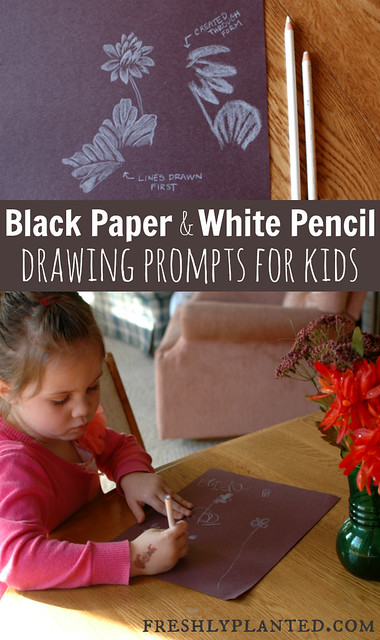
The first thing you'll need is a still life, which was flowers in a vase for us. This drawing activity lends itself to close examination, so natural materials- leaves, shells, feathers, stones, etc.- work well. Also, familiarity with the environment- even in an urban setting- increases a child's awareness of their surroundings & themselves.
I also recommend a good source of light for little ones! Traditional pencil drawing focuses on leaving the paper white for highlights, and darkening it for shadows. This exercise flips that- so that the highlights are drawn, and the paper is left black for shadows. This can be a challenging concept, so I present it in different ways for different age groups:
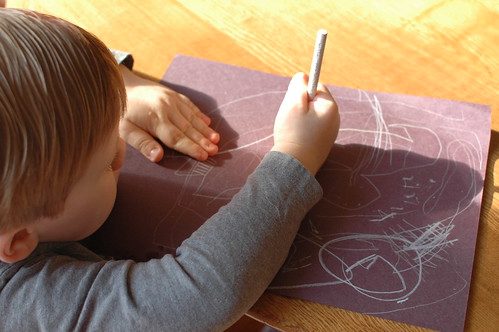 |
| Toddler Billy drawing one of his many monsters! |
- Toddlers: Still-lifes are optional with this age- the most important thing is to give them supervised access to materials! The discovery that white pencil shows up on black paper is a fun one.
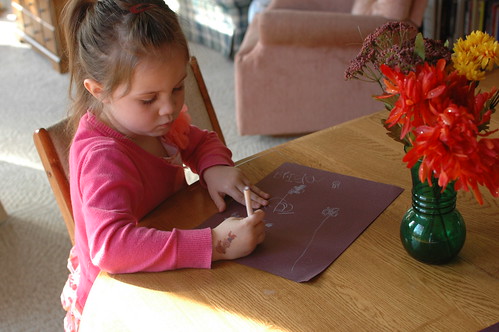
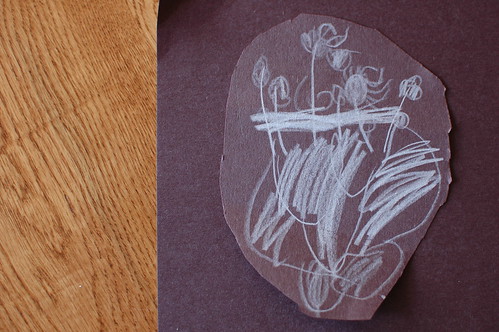
- Pre-Schoolers: While I like to use still-lifes with this age, I also expect drawings to go in different directions. A flower line might become a monster, etc. This is a tactile age, so letting children pick their own object to draw can be helpful. This age also benefits from a multi-step introduction where they are first taught how to contour draw the object first (the outline), then shown how to color in the highlights & leave the black for shadows. This is setting the stage for drawing later, whether or not they actually understand how to use those tools yet (smile).
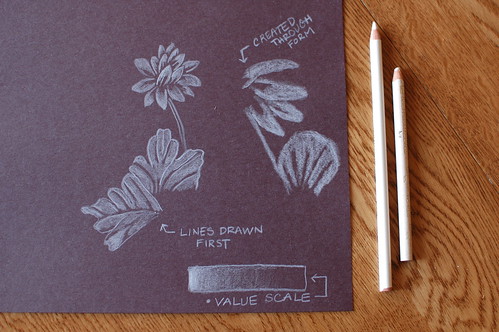
- Elementary-Age: Still-lifes are great, although individual objects can increase interest with active kids since they can intimately interact with them without bothering someone else's drawing! This age also benefits from the multi-step introduction (see above). Older students can also experiment with creating objects through form, with no lines at all (re: the picture below) Drawing with the side of the pencil's lead- instead of how you write- is helpful to do this.
- Middle-Schoolers: This is a great age to work on contour drawings, which is following the lines of the still-life with your eye while drawing it without looking down. Students during this age struggle with wanting to make their drawings more realistic, so they can become easily frustrated. Contour drawings can build confidence, and help teach how to work "mistakes" into compositions instead of relying on erasers.
- High-Schoolers & Beyond: All of the above techniques are helpful, as well as showing students how to build up a value scale (re: the picture below) to increase the realism of their pictures. Gradation is used the opposite of pencil- moving from highlight to shadow. While black construction paper is suitable for early explorations, I recommend black fine art paper for final compositions.
See below for more drawing ideas
- Self-portraits- Very fun with all ages!
- Draw an item of clothing that represents who you are.
- Trace the same object over & over on one piece of paper, then color in the overlapping areas with white (or with different values of white for older students).
- Draw on other dark colored paper (purple, navy) and see the difference.
- Experiment with white pens on black paper (via Tinkerlab).
Happy Drawing!




0 comments
Note: Only a member of this blog may post a comment.